Build your first web application using Laravel
November 21, 2024
Laravel is a popular PHP framework that makes it easier to build web applications by providing a clean, elegant syntax and rich set of tools. In this guide, we will go through the steps to install Laravel and set up a basic web application on an Ubuntu server.
Prerequisits:
Before we dive into the installation of Laravel, make sure you have the following tools installed on your system:
- PHP - Laravel is a PHP framework, so we need PHP installed.
- Composer - Composer is a dependency manager for PHP, which is required to install and manage Laravel and its dependencies.
- A Database - Laravel supports several deatabases, but for this guide, we'll use MySQL (or its compatible version, MariaDB)
- A web server - A web server like Apache or Nginx is needed to serve your Laravel application. We'll use apache2 here.
If you are using windows or MacOS, you can install Laravel Herd which is an all-in-one package that simplifies the Laravel setup process.
However, since this guide focuses on Ubuntu, let's walk through the installation process on a Linux system. In this case, I'm using Ubuntu 24.04LTS
1. Installing PHP
Laravel requires PHP, so the first step is installing it. In Ubuntu, the PHP version available by default may not alwasy be the latest, so we'll use a third-party repository to get the latest version of PHP. This will ensure we have access to all the latest features and security fixes.
Update System Packages
To start, let's make sure your system is up-to-date:
sudo apt update
sudo apt upgrade -y
To access the latest PHP versions, integrate Ondřej Surý PHP PPA into your Ubuntu system. This repository is more up-to-date than Ubuntu’s default PHP packages.
Import this repository using the following:
sudo add-apt-repository ppa:ondrej/php -y
After integration the PPA, we have to update the package cache
sudo apt update
Now, we can install PHP8.3 into our system
sudo apt install php8.3 libapache2-mod-php8.3
sudo apt install php8.3-cli php8.3-common php8.3-curl php8.3-mbstring php8.3-mysql php8.3-xml php8.3-zip php8.3-gd php8.3-mysql
sudo systemctl restart apache2
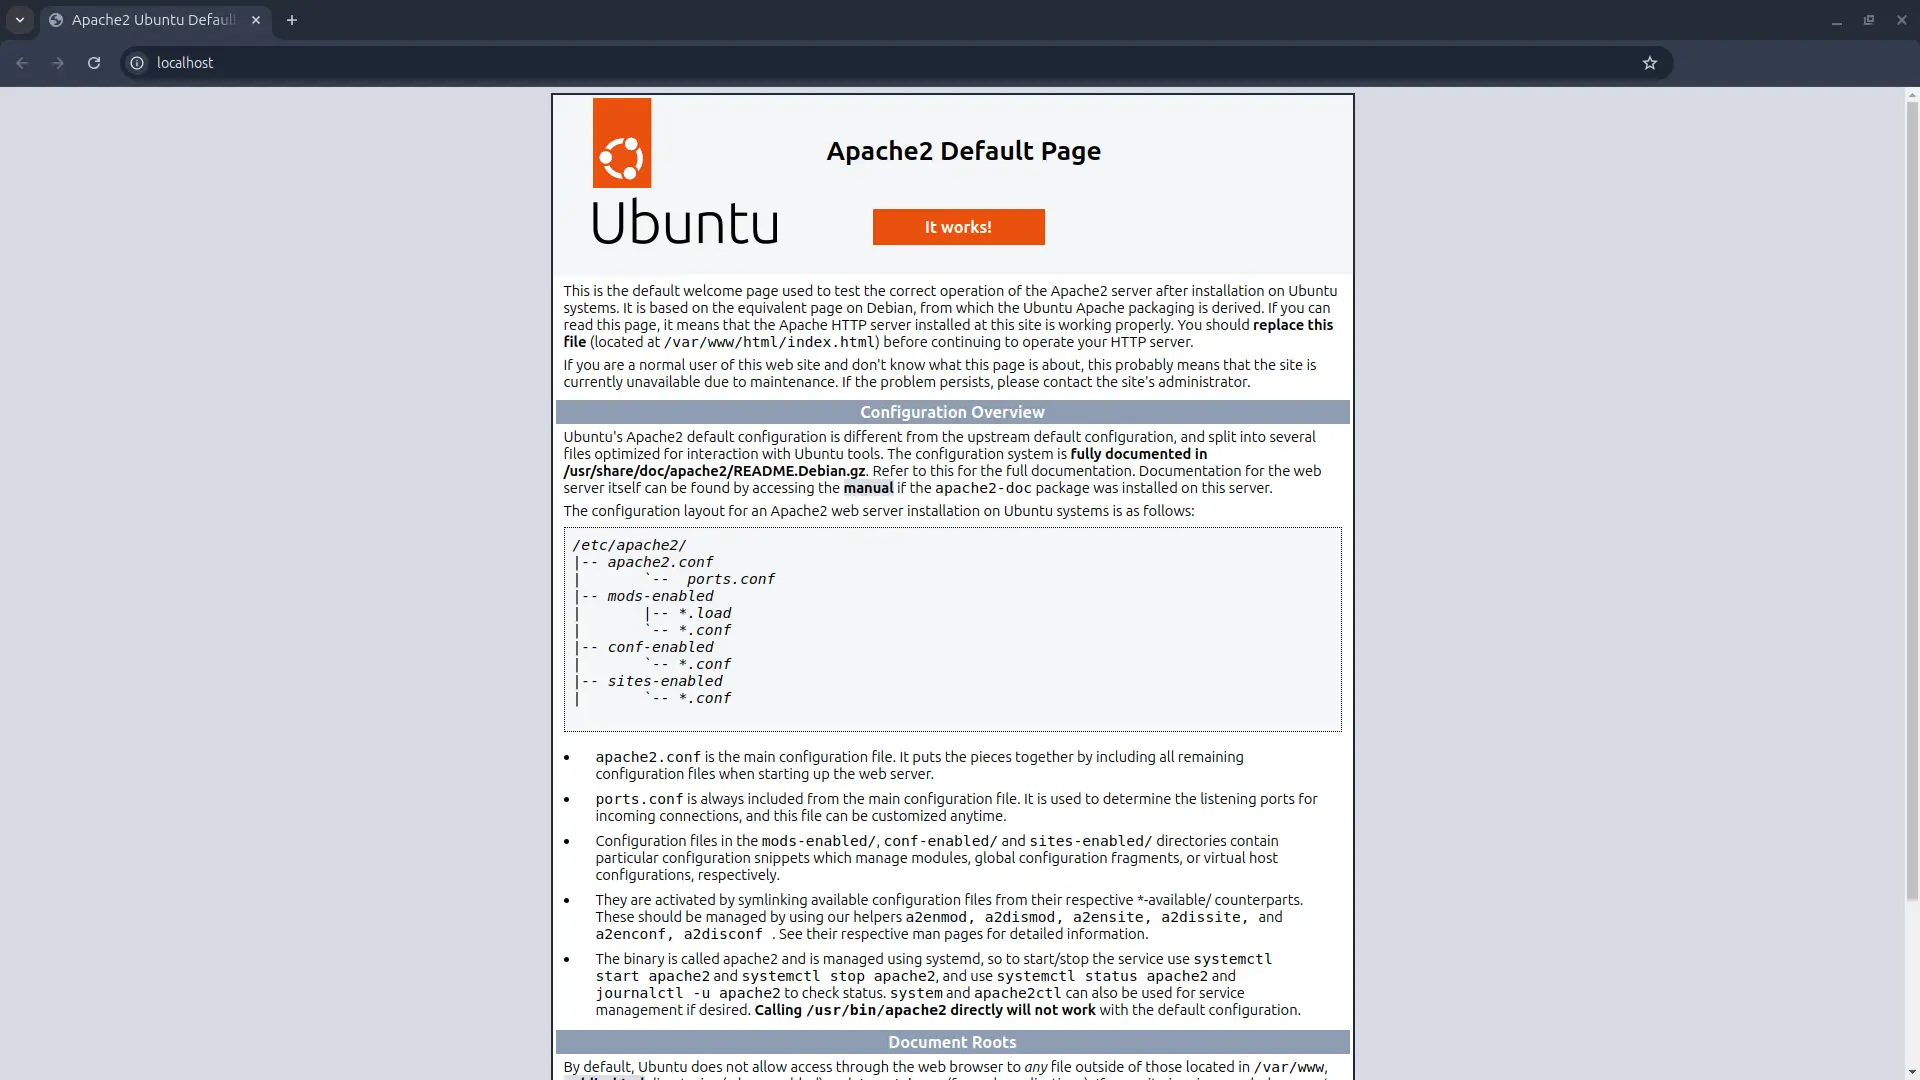
To check if the installation was successful, we can visit http://localhost and you should see the default apache2 landing page.

2. Installing Composer
Composer is a tool for dependency management in PHP. It allows you to declare the libraries your project depends on and it will manage (install/update) them for you.
php -r "copy('https://getcomposer.org/installer', 'composer-setup.php');"
php -r "if (hash_file('sha384', 'composer-setup.php') === 'dac665fdc30fdd8ec78b38b9800061b4150413ff2e3b6f88543c636f7cd84f6db9189d43a81e5503cda447da73c7e5b6') { echo 'Installer verified'; } else { echo 'Installer corrupt'; unlink('composer-setup.php'); } echo PHP_EOL;"
php composer-setup.php
php -r "unlink('composer-setup.php');"
sudo mv composer.phar /usr/local/bin/composer
3. Installing database (MySQL)
sudo apt install mariadb-server
sudo mysql_secure_installation
4. Web Server
sudo apt install apache2
Creating The Application
We have installed all the required packages and applications. Now, we can start builing our application.
Create a new directory for your project and navigate into it:
mkdir /project
cd /project
Then, create a new Laravel project using Composer:
cd /project
composer create-project laravel/laravel --prefer-dist my-first-project
In order to run the application, first we need to configure the database connection. Connect to the database using the following command:
sudo mysql -u root -p
Then, create a new database for the application:
CREATE DATABASE my_first_project;
Now, in the .env file, we need to configure the database connection.
DB_CONNECTION=mysql
DB_HOST=127.0.0.1
DB_PORT=3306
DB_DATABASE=my_first_project
DB_USERNAME=root
DB_PASSWORD=YOUR_PASSWORD
Then, run the following command to create the tables in the database:
php artisan migrate
Now, we can run the application using the following command:
php artisan serve
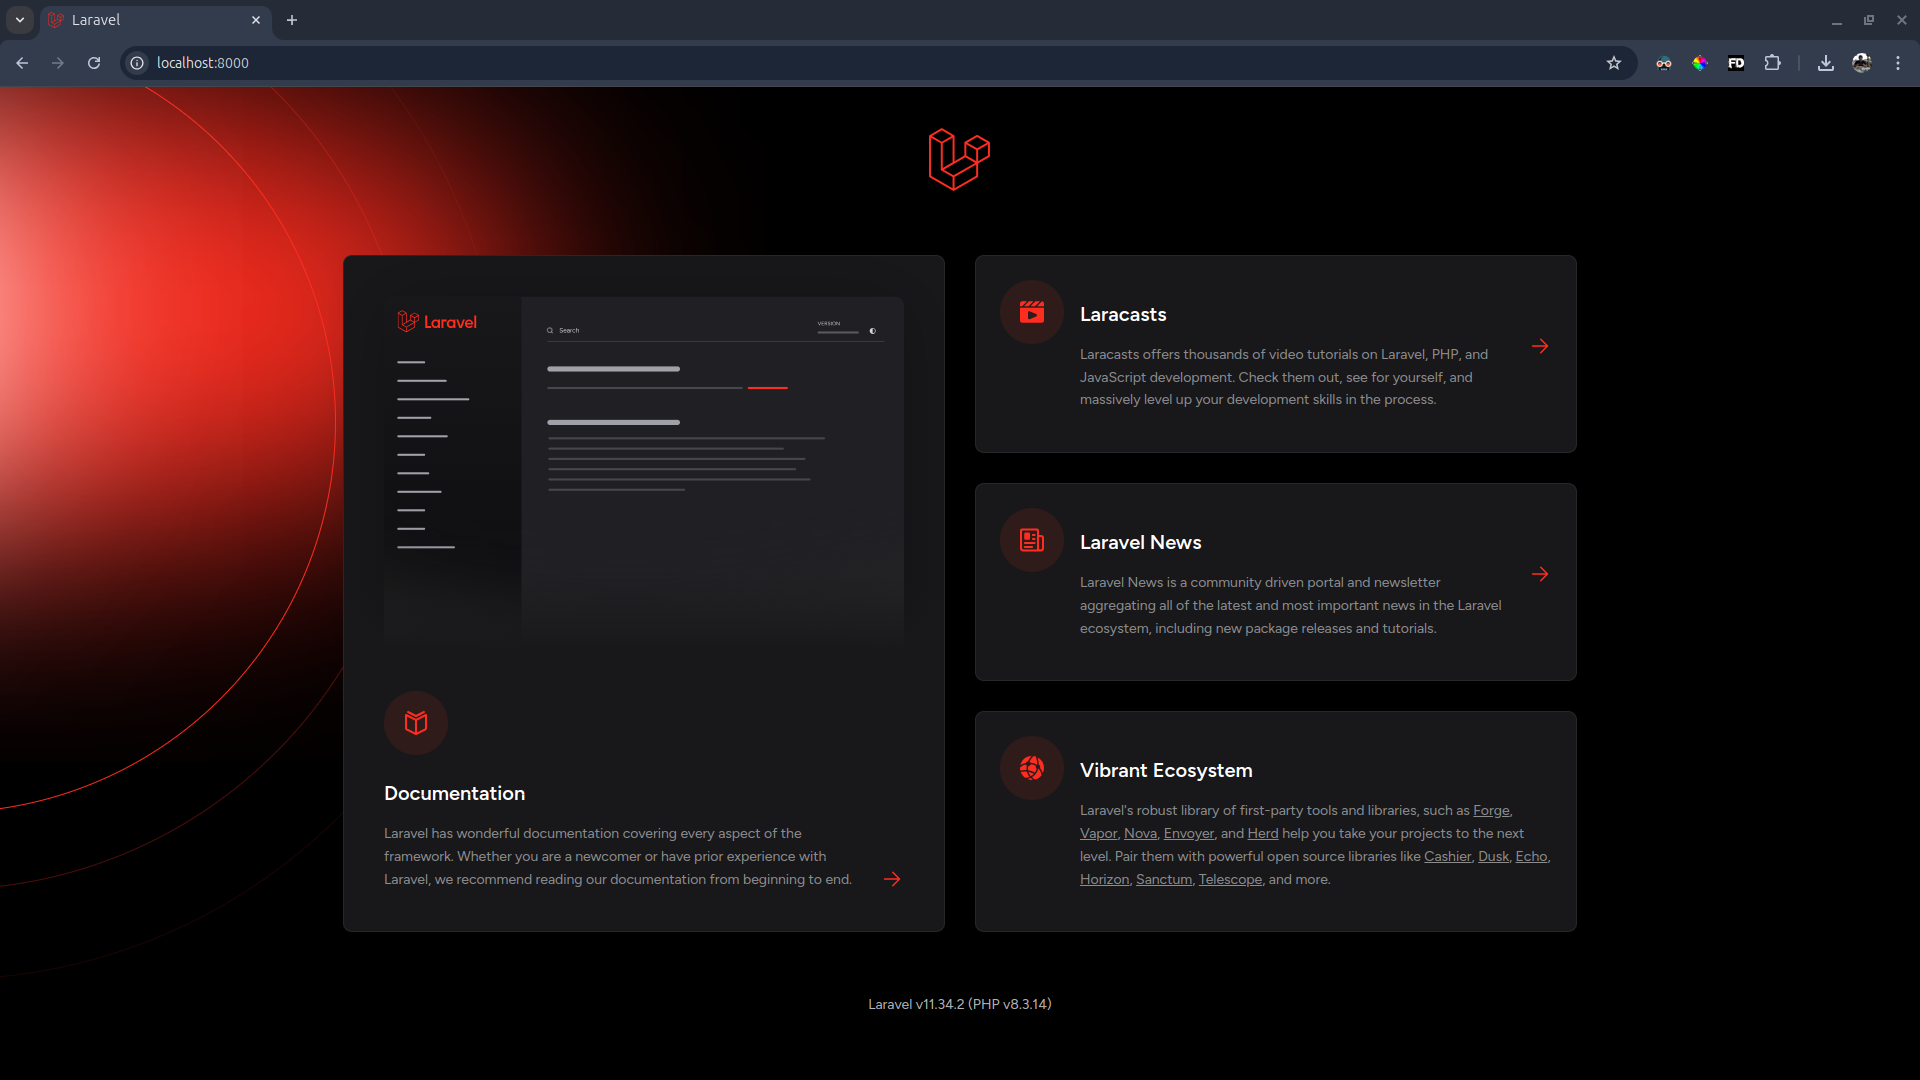
Open your browser and visit http://localhost:8000 and you should see the default Laravel page.
 And congratulations! You have successfully created your first Laravel application.
Checkout the official Laravel documentation to learn more about Laravel.